
How to Read an Island Trail Map Before You Hike
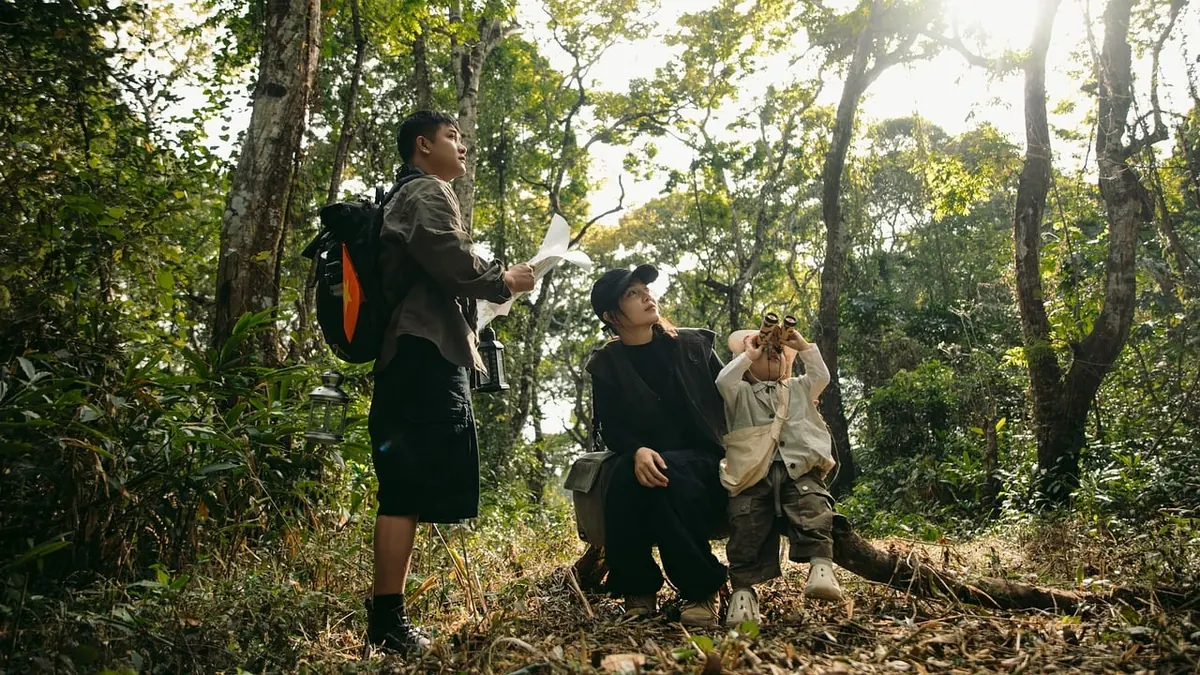
You step off the ferry, find the trailhead, and unfold a map that looks reassuringly simple: one blue line, three black dots, a sun symbol, and a squiggle that might be a stream. Then the path forks, the sign is faded, and the map seems to be speaking a dialect you do not know. Island trails often follow old mule tracks, fishing paths, and ridges that look obvious on paper and less so underfoot. The map is not a promise that the walk will be easy. It is a set of clues. Read them before you start.
The legend is the first trail you read
Every map has a local accent. The same dashed line can mean a seasonal path on one island and a private track on another. Start with the legend, not the route. Give yourself a minute to learn how this mapmaker draws paths, gates, fences, huts, springs, and viewpoints. If the legend is printed in a language you do not read, photograph it and translate the key words before you leave the harbour. The words for “spring,” “closed,” “private,” and “cliff” are worth knowing.
Look for four families of symbols before anything else:
- Line type and colour. Solid lines usually mark main trails; dashed or dotted lines often mean informal, seasonal, or less maintained routes. A red line may be a long-distance route, while a black line may be a local path. Do not assume dashed equals easier. It often means “less obvious on the ground.”
- Water and shelter. A blue droplet, a tap symbol, a well, a spring, or a hut icon changes what you carry. A shelter symbol may be a roofed refuge or a simple windbreak; the legend should say which.
- Land status. Fences, private land, military areas, and protected zones are easy to miss. A trail that crosses a boundary may be legal but closed seasonally, or not open at all.
- Safety and service icons. Viewpoints, junctions, emergency phones, first-aid points, bus stops, and ferry landings are your bailout options. Mark them before you decide the route is short.
Distance is not the same as effort
Island maps can be honest about distance and quietly dishonest about effort. A six-kilometre walk that looks flat on the page may cross three ridges, a scree slope, and a stretch of soft sand. Find the scale bar and the contour interval first. Contour lines show height; where they bunch together, the ground is steep. Count the contours your route crosses and compare that with the distance. A path that cuts across contours climbs. One that follows them traverses.
Contours, cliffs, and the shape of the day
Cliff hachures — short ticks on the map — are a warning, not decoration. They tell you where the ground drops away and where a small error in navigation has more serious consequences. If a route runs along a cliff edge, check whether it is a maintained path or a “route” that requires scrambling. The difference matters. Use the map to build a time range, not a single number. Add time for heat, photos, route finding, and the slower pace that comes with rough ground. A short cut on the map can be a long scramble in reality.
Water sources: symbols versus reality
On an island, water is weight. A spring symbol may be a year-round source, a seasonal seep, or a historic well that is now dry. A village tap may be turned off outside summer. Before you rely on a map symbol, confirm it. Ask at the trailhead, a refuge, a café, or the ferry office. Carry more than the map suggests, especially on hot days and exposed ridges. The map shows where water might be; your bottle shows where it actually is.
Taps, troughs, and unreliable springs
Look for the difference between a public tap and a livestock trough. A trough may be fine for a dog but not for your bottle. A spring marked beside a path may be a trickle behind a wall, easy to miss and easy to foul. If you plan to drink from springs or taps, confirm locally and treat water if you are unsure. For personal health advice, speak to a qualified professional.
Reading exposure before you feel it
Exposure is the part of the map that does not fit neatly in the legend: sun, wind, cliff edges, and the distance to the next shade. On islands, weather can change faster than the ferry timetable. Look at the coastline and the contour lines together. A path on a south-facing slope may be hot and dry; a north-facing path may hold damp stone. A ridge line may be windy even when the harbour is calm. A path marked along a cliff may have no fence, no shade, and no easy turnaround.
Plan your turnaround before you need it. If the map shows a beach, a road, or a village at the halfway point, decide now whether that is your exit. If the route has no shade and no water, start earlier or choose a shorter line. Exposure is easier to manage with a decision made at the trailhead than with one made at the top of a hot ridge.
Emergency markers, bailouts, and the way back
Most island maps have a quiet safety layer. Look for refuge huts, ranger stations, first-aid points, emergency phones, numbered junction posts, and helipads. Not every island has them, and not every symbol means what you hope. Mark your bailout points: road crossings, bus stops, villages, ferry landings, and any place where a path meets a track. Those are the points where a tired walk becomes a sensible exit rather than a problem.
Tell someone your route and expected return. Check the local emergency number at the trailhead. Do not assume mobile coverage. Carry a paper map and a compass, or at least a charged phone with an offline map and a power bank. If a junction sign conflicts with your map, stop and reorient. Guessing at a fork is how short walks become long ones.
A five-minute map check before you walk
- Turn the map so north matches the ground, and find your start point.
- Trace your route with a finger. Say the junctions aloud: “left at the chapel, right at the cistern, straight past the fence.”
- Circle water, shelters, and bailout points. If the route has no water, adjust your load.
- Check the weather and wind direction. On an exposed island ridge, wind can matter more than distance.
- Set a turnaround time and tell someone where you are going.
- Photograph the legend and the route. Batteries fail; paper does not.
A map read well is a calmer walk. You carry less worry and more useful information: where the path turns, where the water is uncertain, where the wind will hit, and where you can leave if the day turns. Read the map before you hike, and the island will feel less like a puzzle and more like a place you already know how to move through.
Photo: Jupilu / Pixabay